Every manufacturer's versions of printer are same, even those from Epson. This suggests that each installation method is only slightly different. Epson's most current printer models employ four cartridges as opposed to the two of its earlier models. The procedure for How To Refill 288 ink Cartridge with four cartridges is covered in this article. Let's first go over the installation principles for Epson.
The Easy Ways to Refill an Epson Cartridge
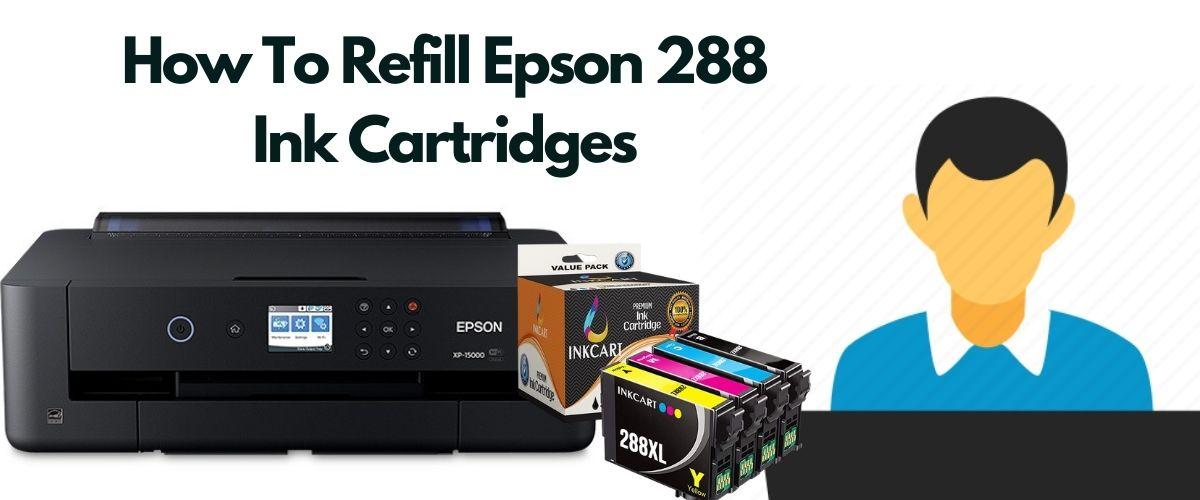
With the Epson 288 ink cartridge, it is able to print on both paper and pictures. It's great to print text documents, spreadsheets, presentations, business photographs, and web pages on plain paper at home or in a small office. By using the mentioned procedures, you may figure out how to use an Epson 288 ink Refill cartridge.
Arrange your new cartridges in the according order
Make sure you write down your Epson printer's model and cartridge information. After purchasing the new cartridge, carefully remove it from the packing. Inside, you'll find four cartridges: three colored and one black.
To avoid leaks, each cartridge needs to be put on a piece of paper before being stacked in the order that they will be fitted in your Epson printer.
Remove your Epson printer's outdated cartridge.
Make sure your printer is turned on before opening the lid to uncover the cartridge carriage. Carefully lift the cartridge cover's hinges back to reveal the cartridges. Please be advised that the cartridge carriage is commonly covered by a multicolored strip.
By placing your index finger on each edge (one at a time) and tugging them up until they are freed, you can remove each individual cartridge one at a time from left to right. Please make sure to dispose of the cartridges appropriately, and find out if there are any recycling centers for cartridges in your area.
Insert the brand-new cartridge into the printer.
Before starting, we strongly advise you to read the printer's manual for thorough installation instructions as it can be rather expensive to install a cartridge incorrectly.
Before installing your new cartridges, remove the yellow tape from each place to uncover the ink nozzles. Next, follow the directions in step two to place each section into the cartridge carriage (if in doubt, use the multicoloured strip above the carriage as a guide). Each one should be placed face up in the corresponding slot. Then, gently press down until it snaps into place. Once each one is in the cartridge carriage, close the cartridge cover and shut the printer tightly.
Check the Epson cartridge
After you've successfully installed your ink cartridges, it's time to run that essential print test to make sure everything is working as it should. By launching a document, pressing print, and then reviewing the output, you may easily ascertain whether the ink is printing properly. Please be aware that if the ink comes out streaky or smudged, you should check the manual that came with your Epson printer for advice on how to realign the printer heads.
Now that the fundamentals of replacing an Epson printer cartridge have been reviewed, the installation instructions for two well-known Epson printer types will be the main focus of this part, illustrating the variations between each model's cartridge replacement procedure.
Changing Non-OEM (Remanufactured) Epson T288 / T288XL Cartridges
If your Epson XP-430 is having problems identifying an aftermarket Epson 288 substitute cartridge, try the following fixes to solve the issue. The installation of remanufactured Epson 200 (and 200XL) cartridges can also be done using these instructions.
The gold and green contact chip should be gently cleaned with a Q-tip or lint-free cloth. On occasion, a mechanical error might be caused by residue on the contact. A compatible chip will look slightly different from a real chip, but it won't affect how it works.
Reset the printer in an attempt. To do this, carefully remove the printer's toner cartridges, switch off the device, and unplug the power cord for 10 to 15 seconds. Put the cartridges back in, reconnect the printer's electricity, and turn it back on. The compatibility chip in our remanufactured ink cartridges precisely measures ink levels, just like the Epson originals.
Replacement Cartridge for Epson Workforce Printers
Epson Workforce printers use standard, high-yield, and, in a few rare instances, extra-high-yield cartridges. Most users choose greater yield cartridges over cartridges with normal yields since they get more prints out of them. Follow these procedures to replace an ink cartridge on a WorkForce printer. Follow the same process when replacing Epson cartridges.
- If your ink is running low, a warning will appear on the LCD screen of your printer. If that message does appear, you ought to be able to select Replace Now from the screen. Before you get that message, choose Maintenance by pressing the Setup (wrench) button. This will change the cartridges.
- After clicking to highlight Maintenance to the right, choose OK. Click the right arrow when you see the option for ink cartridge replacement, then choose OK.
- You can see the scanner's four ink cartridges if you lift the entire unit, not just the cover. Open the cartridge cover while squeezing the tab end of the cartridge to change it.
- To remove each piece of the cartridge, squeeze the tab on the end you wish to take out and pull up. Before moving any of the ink cartridges, please remember to make a note of the direction in which the colours are set up in the printer. The following colours are available with the Epson Workforce 545: black, yellow, magenta, and cyan.
- Before taking the brand-new cartridge out of the sealed packaging, shake it a few times to get the ink flowing. Gently releasing the yellow tab on the cartridge's end from its packaging will reveal the vent hole.
- Press the tab into the correct colour slot with some pressure to make sure it slots in (the tab end should go back towards the printer). Please be advised that handling the new authentic ink cartridge's green and gold contact chip during replacement could cause harm.
- After closing the cartridge cover, lower the scanner unit until it clicks into position. Ink in the printer will begin to charge, which usually takes two to three minutes. You can begin printing as soon as charging is complete!
Please refer to the parts discussed in our Epson Expression XP-430 for information on how to clean and repair Epson Workforce printer cartridges since the same principles apply. Do not hesitate to contact us if you have any urgent questions about printers.
We sincerely hope that our comprehensive tutorial on replacing an Epson printer cartridge was helpful. In the fourth instalment in our series on installing printers, we'll discuss changing Canon cartridges, so keep an eye out for that.
References: How to refill epson ink cartridges