Preparation is Key for Amazing Yearbook Photos
When it comes to taking amazing yearbook photos of your kids, preparation is key. Taking the time to think through your options, plan out what you want the final result to look like, and ensure everyone is dressed appropriately can make a huge difference in bringing the quality of pictures. So how do you go about taking great yearbook photos?
Read on for our ultimate guide to taking and retouching amazing yearbook photos for your kid!
How to Choose a Photographer
First off, you’ll need a photographer. It’s best to choose someone who has experience in this kind of photography—it will make all the difference in terms of lighting and composition. Ask around among friends or search online for local photographers who specialize in school photography; many offer free consultations or previews before booking a session so that you can see firsthand what kind of results they are able to achieve before committing. you can also check for photography guide for the best pick.
Preparing for the Photo Session
Once you’ve chosen a photographer, it’s time start planning out what will happen during your photo session. Determine what kind of poses and expressions would be best suited for your child (natural or posed?), where they should stand (indoors or outdoors?), how long it should take (15 minutes? an hour?), etc., so that there won’t be any surprises on picture day!
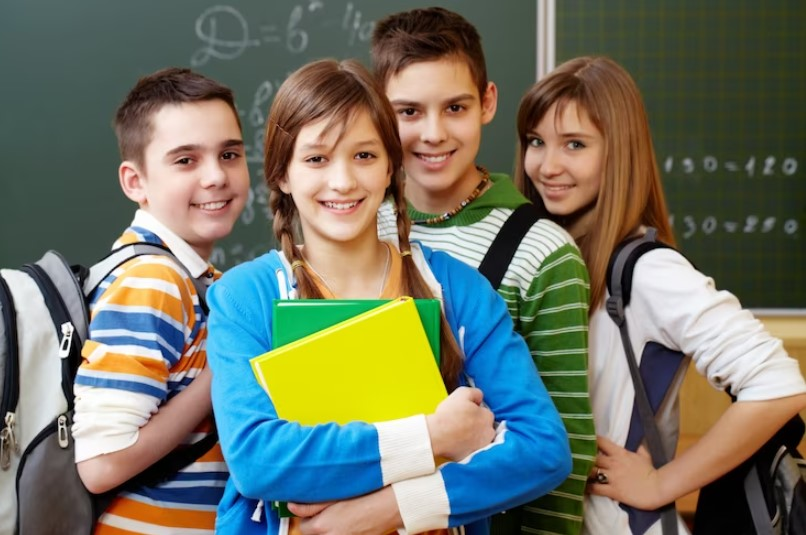
What to Wear on Picture Day
Choosing an outfit always takes more thought than we realize—and when it comes down selecting something appropriate yet stylish enough for their yearbook photo, this becomes even more important! It may differ depending upon their age group; casual but smart works well with younger children whereas smart-casual looks better with teenagers. Avoid any flashy colors as well as clothes that have logos/branding; plain outfits usually look better than patterned ones too!
Planning Your Photo Shoot
Now that everything else has been taken care of, it’s time start thinking about planning out actual photo shoot itself; this includes everything from choosing a specific backdrop/background right through deciding where each person should stand within frame when having their picture taken. If possible visit location beforehand so familiarize yourself with layout & lighting conditions - then fill up space between subjects using interesting props such as flowers/plants etc., don't forget use reflectors redirect light away onto subjects whenever necessary - these small details really help bring end result life & add extra impact overall image!
Taking The Best Possible Yearbook Photos
Once all preparations have been made & everyone's ready go ahead with actual photoshoot itself – here are few tips tricks get best possible results: Make sure take multiple shots from different angles - not just standard full body shot but also close-ups headshots if requested – these will give plenty material choose from when selecting which images should actually appear inside yearbooks themselves later down line... Also try vary up poses slightly between each subject too avoid giving impression everybody's doing same thing over again which could potentially bore viewers after awhile… Lastly remember relax atmosphere much possible order capture genuine expressions rather than forced looking grins all way round ;)
Lighting Tips & Tricks
Nowadays most professional photographers come equipped special lights set ups help enhance create extra atmospheric effects however sometimes difficult keep track exactly what going because there's often some technical jargon involved… At end day though aim here highlight features rather than hide them – using bright natural looking light fixtures bring attention key areas while simultaneously creating beautiful shadows shapes backdrop behind them which subtly frames entire scene - try avoid direct frontal flashes too much they tend flatten out images making them appear less lifelike overall…
Retouching Yearbook Photos Without Going Overboard
Now let's talk about part post processing stage.. Retouching digital images allows us tweak certain aspects further improve final results however if done incorrectly excess retouching can actually lead disastrous outcomes instead.. So here some helpful tips use keep things subtle yet effective:
Color Correction: Easily one most common problems faced during editing process straight away change color temperature balance saturation levels accordingly order give photographs warmer feel visual appeal
Removing Red Eye Whitening Teeth: As name implies simple easy steps get rid those pesky red eye reflections left eyes teeth whitening process helps brighten smile bringing attention front center Skin Smoothing: Blur certain particular regions softly smooth wrinkles pores blotches etc move unwanted distractions background
Enhancing Contrast Saturation: Bring life dull lifeless pictures increasing contrast boosting saturation either manually using sliders adjusting curves layers dialogue box Conclusion With bit preparation practice anyone take nice clean vibrant yearbooks pictures turn mediocre shots into memorable memories last lifetime. Your child only grow once so why not capture moment its fullest potential!?
Last Words
When it comes to taking and retouching amazing yearbook photos of your kid, there are many things you can do to make sure that the picture turns out perfectly. From choosing the best backdrop and lighting, to carefully selecting clothing to match their personality, having a clear understanding of what poses will look great for them, and making use of proper editing software or professional school photograph editing service for post-processing - these steps can help create lasting memories that your child can cherish forever. So take the time to plan ahead and create beautiful memories with your child before they get too old!
We hope our guide has helped equip reader knowledge necessary create produce truly stunning compositions without overdoing retouching techniques along way Thank reading :)